Here’s What You’ll Need:
Computer with Word/Photoshop
Printer
Paper Bags (Brown or White)
Scotch Tape
Ribbon/Raffia
Hole Punch
You’ll want to begin by creating a document in Word. You’ll need to change the paper size to fit your bag. For my Word program I went to File, Page Setup, and then Paper Size. You can then customize your size and save the paper size. The paper size I used was 5×10 for a standard lunch bag.
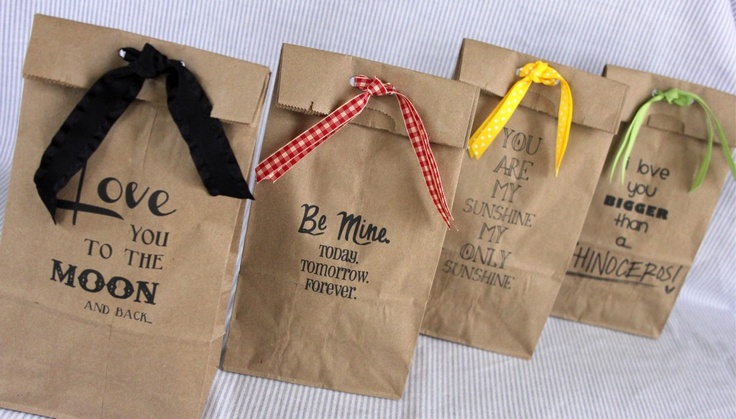
Once you’ve created your document, get creative! There are a ton of free fonts out there to download! I’ve created eight different printables for you. My bags were based on sayings that I say often or that I love. The two printables are available in 2 PDF files. Four four in black and four in color.
Now you’re ready to prep and print! In order to keep your bag from tearing or getting jammed in the printer, you need to use some Scotch tape. You don’t need much, but you need to tape the top shut, as well as, taping down the bottom flap.
Once they’re printed, all you need to do is fold the top down. Then hole punch, and tie your ribbon! And voila!
These would be great for teacher gifts, Back to School bags for students, birthday bags, or party favor bags! The possibilities are limitless!!! Enjoy creating!
Original creation here.